Tuesday, March 22, 2016

Week 5

Hey guys!

This week was pretty exciting for me because I finally got to start building my device! First, I went to my mentor to collect the containers and graphite rods so I could have all my materials with me. After getting those 
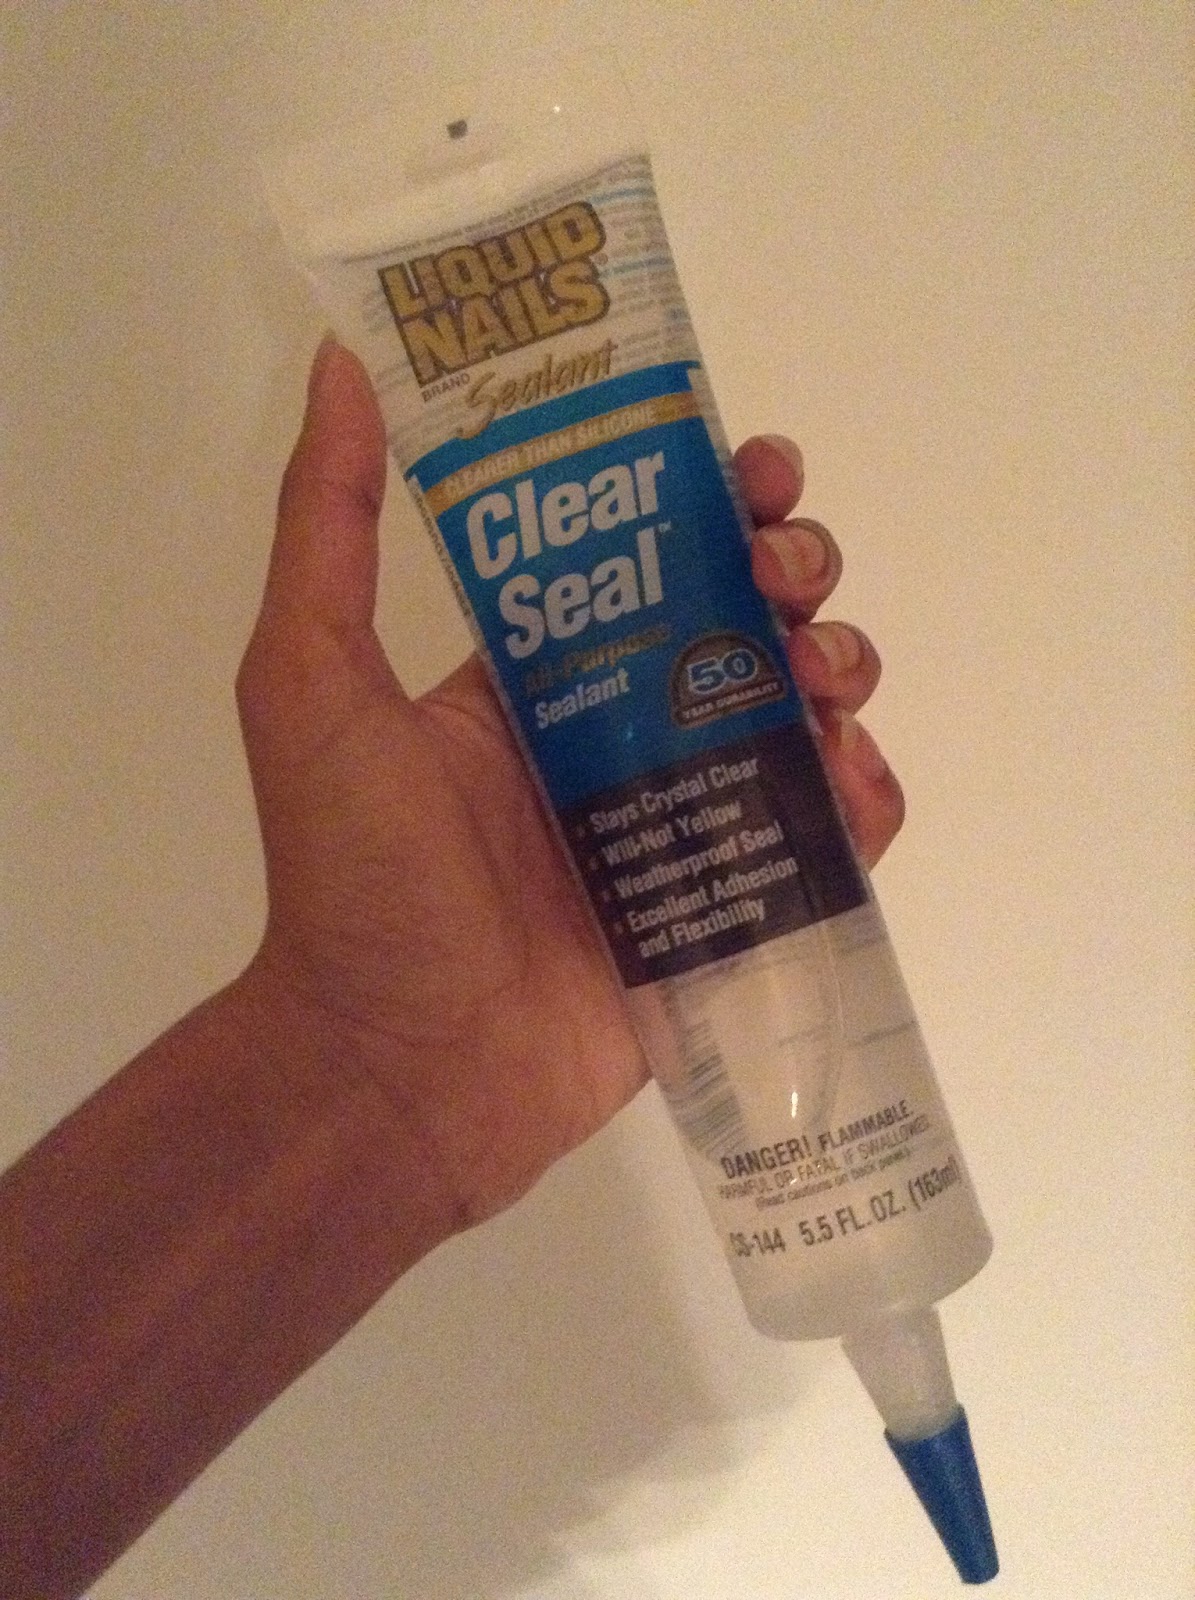
I talked to my professor about which method of sealing he thought would work more effectively. I showed him both the rubber seal that he had suggested and the caulk that I had bought and he agreed that caulk might be the better choice. If used, we would not have to drill large holes to accommodate the rubber stoppers and would be able to fill the gaps more effectively with a liquid than with a solid. After choosing our sealing, my professor showed me how to use his electric drill, gave me access to the lab, and showed me to a table I could work at.

First thing I did at the lab was clear my work space and put all of my materials where I thought convenient. After that I obtained a device that my professor had shown me can be used to measure the diameters of the graphite rod and collection tube as shown below. With that information I would be able to find the matching drill bits.


The device opens and closes with a dial (that I’m holding) and has to be tightened around the object being measured until it will not close any further. The display will then read the diameter of the object.

After obtaining the diameters of the rods and tube, I looked through the different drill bit sizes I possessed to find the suitable one. The size was usually written on the side of the bit but if not, I could measure its diameter. The sizes of the drill bits would not always match perfectly with that of the rods and tube but  I decided that if there was not too much of a disparity in size, I would use the ones that were closest.  I tightened the drill around the bits I had chosen and drilled three holes into my container as shown below:

3/8 Drill Bit


Before using the caulk, I decided to test it out first so I could become more familiar with its consistency, ease of application, and drying time. I used an extra container I had and drilled two holes the size of the graphite rods into its lid. I then found two pen bodies that I was not using anymore from my backpack, inserted them into the holes, and used the caulk to seal the gaps. I was surprised to see that caulk was thicker and harder to apply than I had originally expected! Nonetheless, it seemed to work pretty well so I got started on the real thing.


I used a crayon I had to mark the spots on the rods right above the container to ensure that when I sealed the rods to the lid, they would be high enough so that the lid would still snap shut and low enough that they would be under water level once I filled the container. I then removed the orange stoppers that were on the rods from before and the duct tape that was on the collection tube.  After that I applied the caulk, trying to get as much of it as I could into the gaps and waited for it to dry.


My professor showed me that the best way to check if the container was airtight was by blowing into it from the collection tube. I tried doing so and found it increasingly difficult to blow air into the container as the caulk dried indicating the seals were working. However, there were still places where I could feel the air was escaping. Next week, I will have to finish caulking the tube, apply more to the gaps that still weren’t sealed, and find the batteries and wires needed to perform the electrolysis of water. 

Wednesday, March 16, 2016

Week 4

Hey everyone!

This week, I researched where to find the rest of the materials needed to create the device, which included the containers and the sealings.

For the container I searched online to see if I could find one that is airtight and would therefore prevent the Hydrogen gas from escaping. I immediately thought of food containers that were advertised to be airtight.


The container pictured above is called a Snapware container, and is commonly used to store food. The lids have sides that snap shut over the rest of the container and have a rubber band in between to ensure an airtight seal. I’m not completely sure how effective this container will be, but so far it has been the best that I could find that is both affordable and suits the needs of the device. I sent the order information for the containers to my mentor and was notified when they had arrived.


For the sealings, initially I had thought to use a rubber stopper to seal the hole between the container and collection tube. I bought a couple from the Home Depot of two different sizes and drilled a small hole through one, making sure that the hole was neither too tight so that the tube would not fit, nor too loose that it would not seal properly, and then inserted the tube through the stopper as shown below.


However, after discussing my plans with Mr.Ray, my school advisor, he brought up the possibility of using caulk as a sealant as well. Caulk, is a flexible material used to seal air leaks through gaps between building materials and would dry to fill the space between the collection tube and the container to prevent the escape of gas.  I went to Walmart and talked to an associate about which brand would work best for my project and was shown a couple of the products they had that might work. I ended up purchasing the Liquid Nails Clear Seal All-Purpose Sealant.


Next week, I will have the opportunity to talk to my mentor about both options and determine what to do. Looking forward to beginning to build my device!

Thursday, March 10, 2016

Week 3

Hey Guys!

This week was mostly spent finding some of the materials I needed to build my device. I wanted to build a device with mostly commonplace materials so that it would both be affordable and easily assembled by anyone (including for classroom demonstrations of the applications of renewable energy).

My mentor and I looked through the materials that he had in his office and lab to see what we could find. We found that we already had some graphite rods that we could use for the electrodes and also found a container full of Na2SO­4 that would work for our salt.


Additionally we found an old copper tube that could be used as the collection tube.


Next week, I will have to research more about where I can find a suitable container and seals. When my mentor built a similar device before, one of the problems he ran into was the sealing. The cap on the container was not tight enough to prevent the escape of gases and the sealing on the collection tube, duct tape, as pictured above (I got the copper collection tube from his earlier device) was not adequate either. I hope to find a better method to seal the gaps. 

Tuesday, March 1, 2016

Week 2

Hey guys sorry for the late post but here’s what I did in Week 2!

During Week 1, Dr. Tao and I worked out the design of the device so this week we were able to work on figuring out what materials the parts were to be made of. These included the container, the electrodes, the collection tube, the salt, the seals, and the solar cell/ batteries.


The container: For the container, we would need an affordable material that wouldn’t interfere with the experiment. We narrowed down our focus to glass and plastic containers. In the end we decided plastic may be best so that it is easier to puncture the lid to make openings for the electrodes and the collection tube.  


The electrodes: I plan on using graphite rods for both the anode and cathode. Graphite is a good conductor and shouldn’t interfere with the electrolysis of water chemically.

The collection tube: While it would be alright to use any material for the tube as long as it doesn’t react with the gas, plastic tubing, for example, would not be the best choice because to test for the existence of hydrogen gas, we would try to ignite it using a flame and this may cause the tube to melt. With that in mind, we chose to use a copper tube so that it would not melt with the heat.


The salt: The salt should be chosen carefully so that noxious gases don’t form as a result of using them. For example, if NaCl were to be used it could result in the unwanted formation of Cl2 gas. It would also be wise to use a gas with a high solubility product constant, Ksp, so that it can increase the conductivity of the solution more effectively. Taking both into consideration, we plan to use Na2SO4.

The seals: The purpose of the seals is to trap the hydrogen gas within the container so that there is enough to create a flow through the collection tube to ignite. As of now, I’m not completely sure if the seals we’ve chosen to use will be adequate enough, but I plan to use a rubber band to seal the space between the cap and the container. To seal the gaps between the electrodes and the container cap I will use rubber plugs that my professor already has, and for the gap between the collection tube and the cap, I have to find a plug that contains a hole with the correct diameter (that of the collection tube).

The solar panel/ batteries: Once the optimum voltage and current is found using the batteries, we can determine which solar panel to use for the device.

This week was also exciting because I got to meet some new people! Every Friday, all of the undergraduate and graduate students that work in Dr. Tao’s lab meet up for a team meeting to report their progress to him. It was interesting to listen as each of them shared their week’s findings and I had the opportunity to talk with a couple of them after the meeting was over. Looking forward to working with them!